

The tree is up, every ornament is in it's final place (because you know you readjusted your ornaments 100 times for perfect coverage) and it's time to enjoy your tree: WRONG! It's time for the little ones to destroy the tree. Our tree? Everything on the bottom 2 feet is constantly being taken off by my precious little "angel". All day I'm saying "no. No. NO!" Oh boy, way to take the Christmas spirit right out of me kid. But I had an idea! I wouldn't say it was a solution, but it helped!
And thus, unto us a Kid's Tree was born!
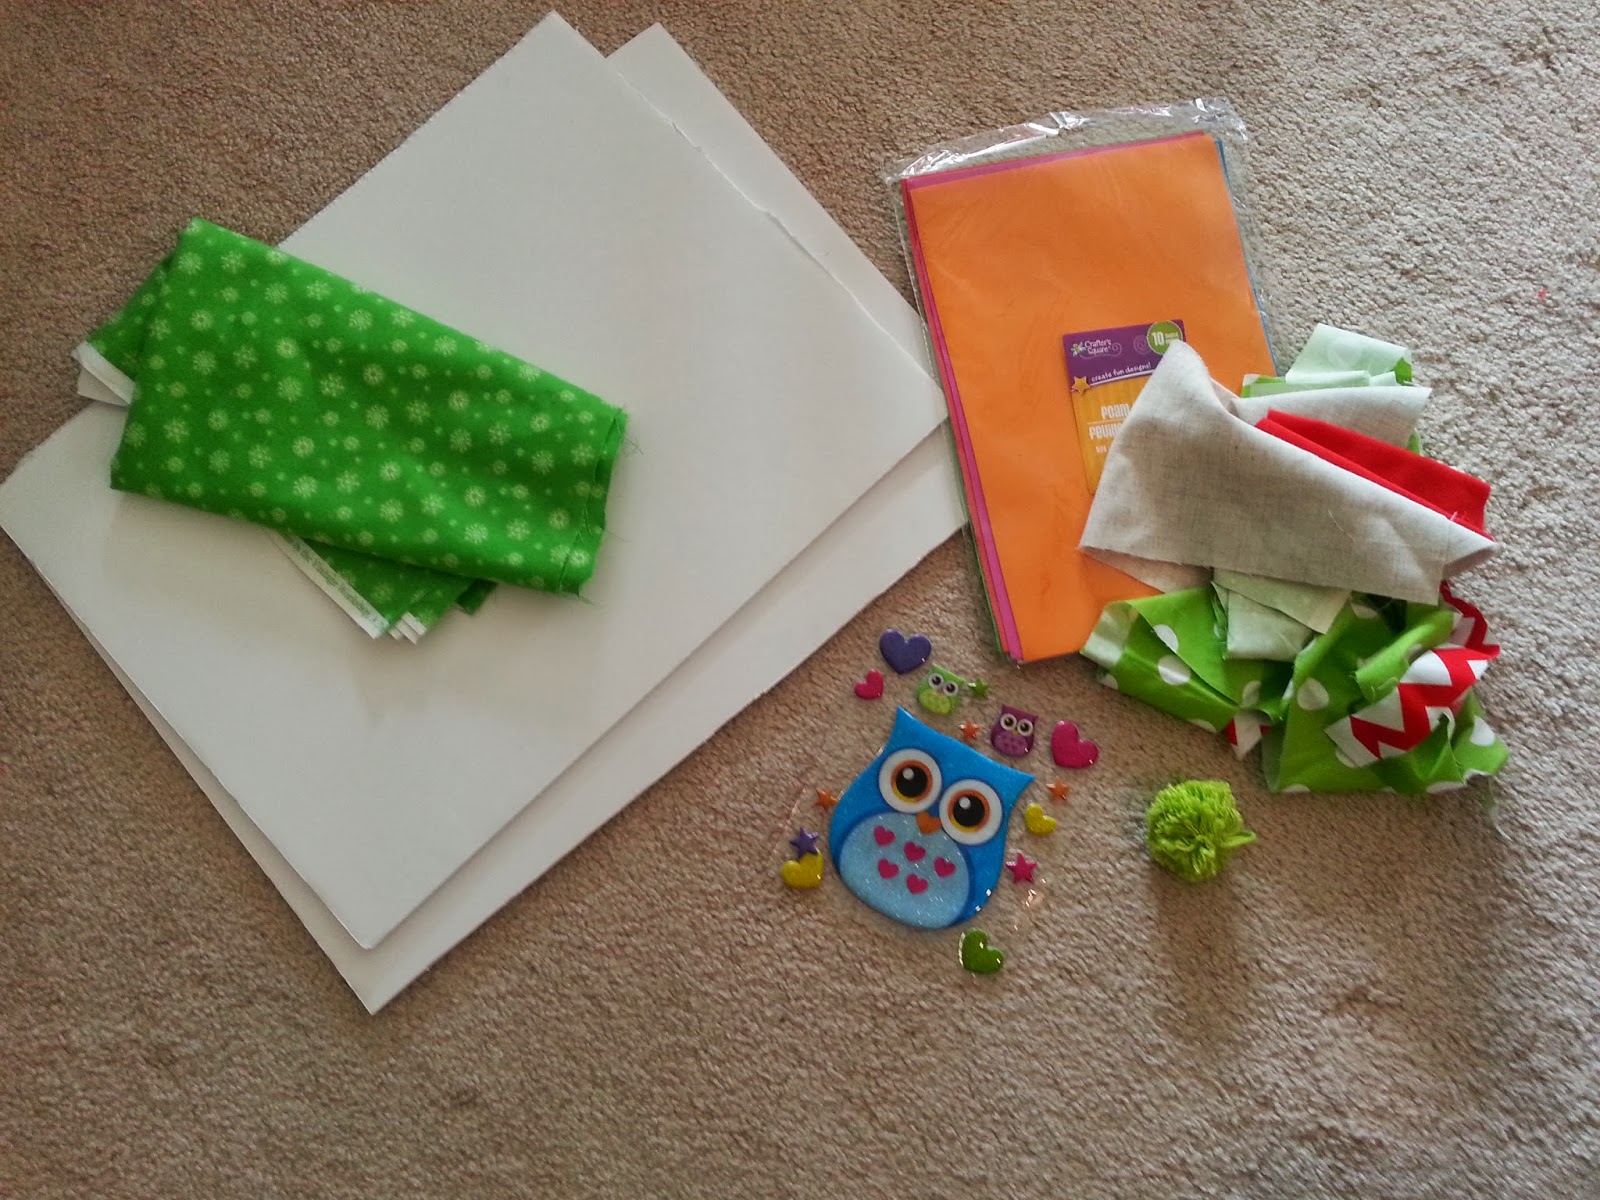
Here's what I had laying around:
-Poster board
- Green fabric
-velcro
-pom pom's, plastic ornaments, stickers, art foam and scrap fabric (for kid's ornaments)
1. Sketch out a tree on a poster board. Pretty or messy it doesn't matter because it's all getting covered up. Or it could be both like mine and be pretty messy!


3. Cover with fabric: lay your tree on top of the fabric, then cut around the tree about 2 inches away from the edge. On the inside corners cut a slit all the way to the poster board, this will allow for easier covering.

4. Fold the edges around the poster board and tack down with tape or glue.

5. Flip over and attach velcro to the front of the tree, then attach velcro to random kid friendly ornaments. I had some leftover plastic ornaments and some yarn pom-poms to use.

Attach this bad-boy to a wall and viola! I bet you'll get at least 10 minutes of peace without having to scold someone for un-decorating the tree!
Merry Crafting!
No comments:
Post a Comment